Friday, August 12, 2011

Pumpkin Show 2010: Part 7

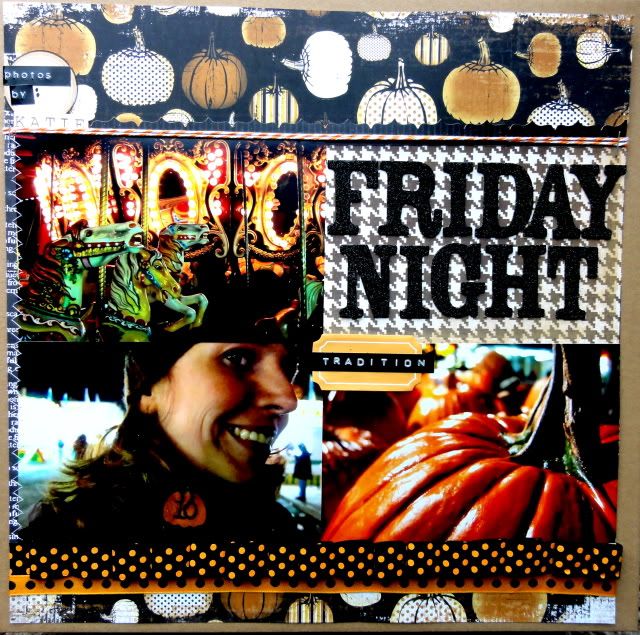
Only have three 4x6 photos for a layout? Just cut some patterned paper to 4x6 to use as a title-block, and recycle the tried and true four-photo layout. The best-kept secret in scrapbooking is that there's no shame in using the same design over and over and over, as long as it still makes you happy. As long as the photos keep changing, the pages will look different. And if you're working on a themed project, sometimes it makes more sense to keep certain aspects  (design, color, pattern, etc.) consistent to keep it feeling unified.

Photobucket 


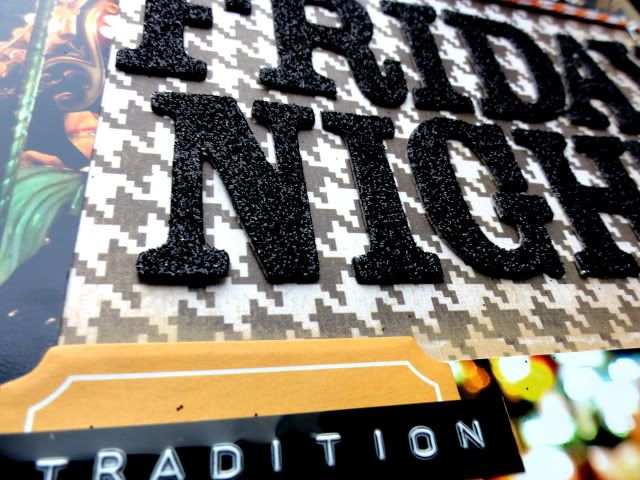
Figuring out where to put Katie's beautiful photos in this one was easy. It always feels more natural to place photos so that the subject is looking into the page rather than off of it, because it helps to lead the viewer's eye across the page. Balance-wise, the off-center pumpkin just seemed to beg to be put on the opposite side, and the white space in that photo became a great spot for extending the title.
Photobucket


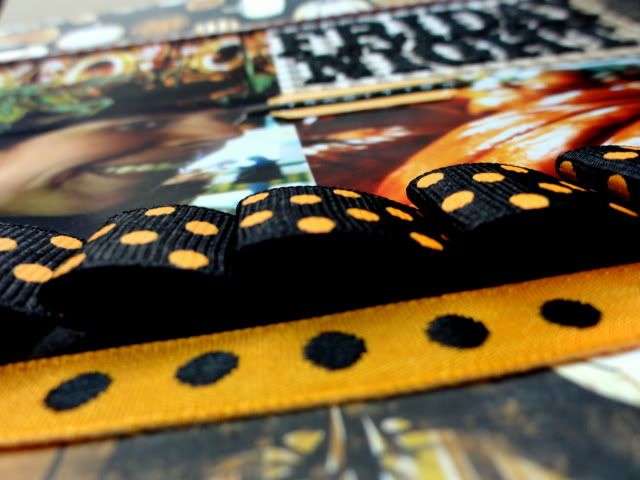
Since you can't really see it from the full page view, here's a shot of the pleated ribbon at the bottom of the page. I have a HUGE stash of ribbon that I'm always using to stretch across pages to create quick and easy borders, and this is a super simple way to take it up an extra notch. Just adhere the end of the ribbon to the page and pleat the ribbon across the page, securing each pleat with a glue dot as you go.
Photobucket


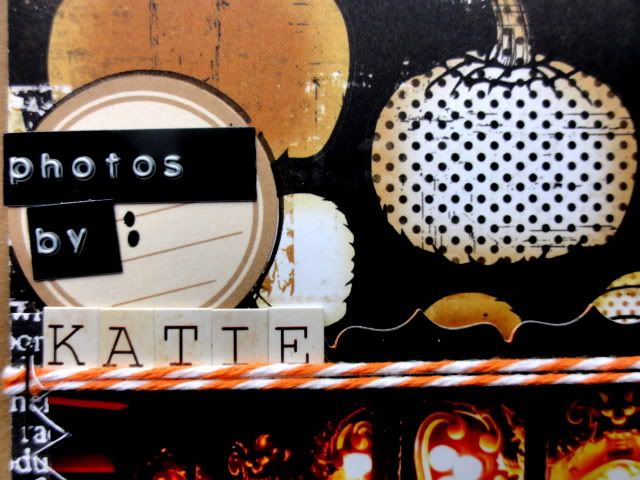
And since I'm so grateful to her for getting the only picture of the special "10-Year" pin I made for my friends Dayna and Justin for their 10th Pumpkin Show AND for letting me use her label maker again without asking, I wanted to give Katie a rightful photo credit in my album:
Photobucket


Supplies Used:
Patterned Paper: My Mind's Eye, DCWV
Ribbon:: American Crafts
Twine: My Mind's Eye
Border Sticker: Reminisce
Label Stickers: Hampton Arts, October Afternoon
Chipboard Letters: Colorbok
Letter Stickers: Authentique
Label Maker: Dymo

Comments (4)

Loading... Logging you in...
  • Logged in as
Do you use glue dots for everything, or do you use glue sticks/spray adhesive/etc. as well?
1 reply · active 710 weeks ago
You could use Glue Dots for everything, but I tend to save them for small details (I use the mini ones) and things that need a little extra stick. For photos and other paper-to-paper sticking, I just use Scotch double-sided tape. Tape runners are super popular, too, and most types aren't much more expensive, but I've gotten used to the tape.

I use a glue stick or 3M Quick-Dry Tacky Adhesive for paper die cuts with parts that are too small for mini Glue Dots, and for thin ribbon or really small die cut pieces, I use my Xyron sticker maker.
I love everything about this, especially the houndstooth paper. (How funny that houndstooth seems so old and comfortable how that chevron is the thing.) Do those little "Katie" letters actually look like Scrabble tiles in real life, or is it just a product of the macro photography? They look great!
1 reply · active 709 weeks ago
Thanks! At first, I had NO idea how I was going to use that black pumpkin paper, because when I started this project, all my pictures were bright and sunny and daylight-y, but when I switched to nighttime photos, it suddenly worked really well. I especially loved that there was enough black in your pictures that I felt using strong black patterns and elements on the page. Too many of my past Pumpkin Show layouts are brown-heavy, since fall papers and supplies tend to have lots of brown in them.

Anyway, the letters are actually just cardstock, but they're popped up a bit by being stuck on top of two other cardstock stickers, so I guess that's what's making them look so thick and tile-like. I totally recommend those letters, though, if you like them. They're by a new company called Authentique, and they're only 99 cents a sheet!

Post a new comment

Comments by