
I've got a couple of cards and some more scrapbook pages (8x8 ones!) to post really soon, but in the meantime, I'm excited to share a couple of great little techy tidbits I learned this week. If you already knew about these, feel free to feel superior in your media mastery, but since they were so new and exciting to me, I thought it might be helpful to pass them along.
1. Find out who's pinning your stuff on Pinterest.
(First, if you're not already using Pinterest, you're really missing out on a great way to collect inspiring images and bookmark ideas from all over the web. You should join. And follow me, if you like. And tell me if you're on it, so I can follow you back.)
Tools for bloggers to find out what other sites are linking to their pages have been around for a long time, but thanks to this post at The Speckled Dog, I learned that there's also a super easy way to find out if your images are being pinned.
Just type http://pinterest.com/source/ and then add your blog's web address.
For example:
http://pinterest.com/source/traceyfox.com
This is also a great tool to quickly find an image if you remember what site it was from but don't want to go searching through all of its past posts. If it's a memorable image from a popular blog, chances are pretty good it will come up when you input the blog name into Pinterest like above. Or, you can just obsessively check your own blog for pins and never get anything productive done ever again.
2. Turn shortened RSS feeds into full ones.
I understand why blogs do it. They truncate their feeds in the hopes that you will click through to see their painstakingly-designed sites and hopefully click on their advertiser links and earn them pennies. But nothing makes me unsubscribe from something faster than the inconvenience of a partial feed. So, when I heard Peppermint Granberg offer a solution to this on an episode of The Digi Show, I rushed to my computer to resubscribe to some much-missed blogs.
The secret is http://fulltextrssfeed.com/, a site that will generate a link to a full feed when you input the link to a partial one. Then, you add the new feed's link to your favorite feed-reading app (I use Google Reader), and your days of being forced to click through are over! Life-changing!
Just to warn you, this may not work for every site whose feed you want to lengthen. Katie's first attempt resulted in a full feed that still wouldn't load images, and I've run into one that won't seem to work at all. It's definitely worth a try, though. I've had success with 5-6 other blogs I had pretty much given up on reading, and I plan to attempt it from now on every time I subscribe to a blog and find I'm not getting full content in my reader.
Here's wishing you a great long Labor Day weekend full of pin-checking and blog-reading! Got a favorite web-trick to share? I'm suddenly worried about all the things I don't realize I can't live without.
Friday, September 2, 2011
Wednesday, August 17, 2011
Pumpkin Show 2010: Part 10
 |
| I promise these double-page layouts line up properly in real life. They really do! |
Just about every year at the Pumpkin Show, some little shop or booth is selling these laser die cut titles for the event, and I can't keep myself from buying them, even if they aren't my style. They're different every time, but something about them always just feels kitschy and somehow reminiscent of the whole experience, so they're sprinkled throughout my Pumpkin Show albums. The green backing on this particular one was an obscenely bright shade of grass green, so to tone it down and help it match better to the page, I used a blending tool to ink it up liberally with Brushed Corduroy Distress Ink.
I also couldn't resist this flocked pumpkin paper from GCD Studios. Obviously, I have no qualms with being literal on my Pumpkin Show pages.

A single vertical photo really throws me off when I'm arranging my pictures, so I turned to this layout sketch from Shimelle Laine's 4x6 Photo Love Series to help out. I still don't like how weighty the vertical print feels on top of the horizontal ones, but the sketch and project examples helped me come to terms with that and move on.
Supplies Used:
Patterned Paper: GCD Studios, My Mind's Eye
Border Punch: Fiskars
Border Sticker: Reminisce
Gems: Colorbok
Tuesday, August 16, 2011
Pumpkin Show 2010: Part 9
Once again, I say if you want to use ALL the photos, just use 'em.
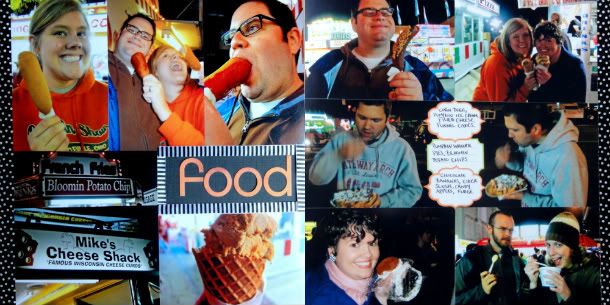
Here, I fit 12 4x6 photos on a double-page layout, and the only cropping I did was to overlap and shorten up the two pictures on the bottom left to make them fit and hide their wasted space. I ended up adding the polka dot Smash Tape to the sides because the Snapfish lab cut all my photos just shy of six inches and there was excess room on the page, but I like how it turned out, so I don't have to be mad at them after all.
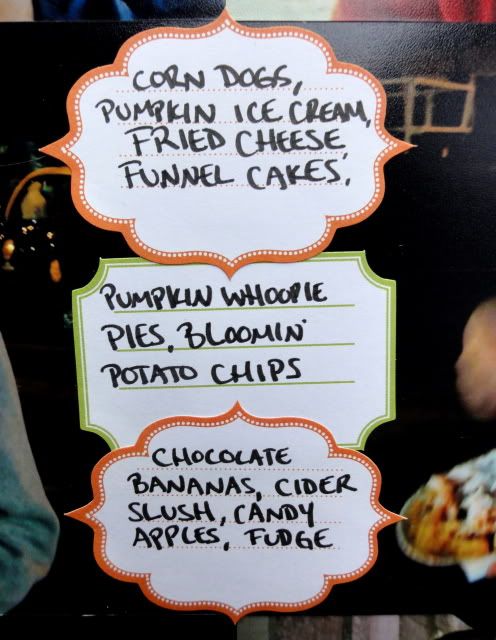
I've been a little obsessed with decorative label stickers lately, because they're pretty, inexpensive, and such an easy way to add some journaling to a page. These came from a package I found in the stationery section at Target in a package for about $2.50
(Note: If archival scrapbooking is important to you, you'll probably want to stick with labels made by scrapbook supply manufacturers. I don't take acid-free scrapbooking as seriously as I used to, though. I won't be heartbroken if my albums don't last 500-1000 years, as long as they're around for me to enjoy until I'm old and gray.)
Supplies Used:
Ribbon: American Crafts
Decorative Tape: K & Co.
Letter Stickers: Basic Grey
Adhesive Labels: Target

Here, I fit 12 4x6 photos on a double-page layout, and the only cropping I did was to overlap and shorten up the two pictures on the bottom left to make them fit and hide their wasted space. I ended up adding the polka dot Smash Tape to the sides because the Snapfish lab cut all my photos just shy of six inches and there was excess room on the page, but I like how it turned out, so I don't have to be mad at them after all.
I've been a little obsessed with decorative label stickers lately, because they're pretty, inexpensive, and such an easy way to add some journaling to a page. These came from a package I found in the stationery section at Target in a package for about $2.50
(Note: If archival scrapbooking is important to you, you'll probably want to stick with labels made by scrapbook supply manufacturers. I don't take acid-free scrapbooking as seriously as I used to, though. I won't be heartbroken if my albums don't last 500-1000 years, as long as they're around for me to enjoy until I'm old and gray.)

Supplies Used:
Ribbon: American Crafts
Decorative Tape: K & Co.
Letter Stickers: Basic Grey
Adhesive Labels: Target
Monday, August 15, 2011
Pumpkin Show 2010: Part 8
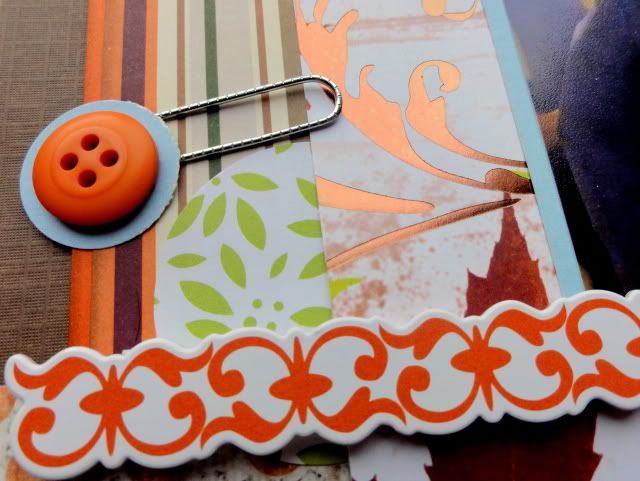
Even though the industry pros are amazing at it, scrapping just one photo on a page is totally out of my comfort zone. But meeting our friends Noel and Ryan for the first time in person after months of bloggy friendship was an evening highlight that merited its own page.
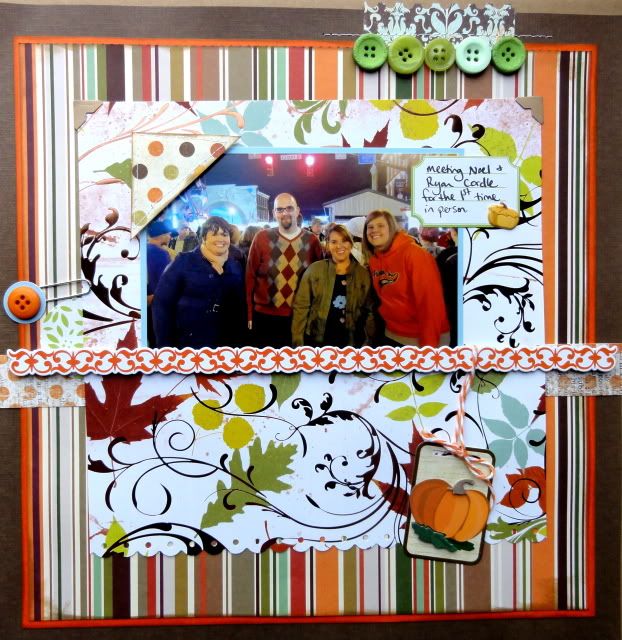
Conventional wisdom says you're supposed to add stitches to your buttons so that they give the illusion of being sewn on, but, alas, I am lazy.
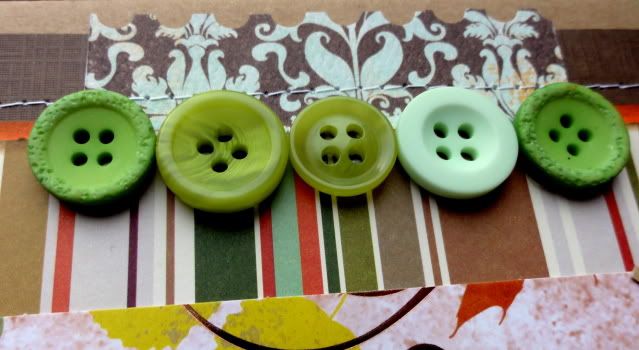
Decorative paper clips are a common scrapbook embellishment, but you can glue your own buttons or other trinkets to regular old paperclips and save your pennies.
Supplies Used:
Patterned Paper, Chipboard Border: Me and My Big Ideas\
Border Punch: Fiskars
Adhesive Tag: Reminisce
Label Sticker: Hampton Arts
Striped Twine: My Mind's Eye

Conventional wisdom says you're supposed to add stitches to your buttons so that they give the illusion of being sewn on, but, alas, I am lazy.

Decorative paper clips are a common scrapbook embellishment, but you can glue your own buttons or other trinkets to regular old paperclips and save your pennies.

Supplies Used:
Patterned Paper, Chipboard Border: Me and My Big Ideas\
Border Punch: Fiskars
Adhesive Tag: Reminisce
Label Sticker: Hampton Arts
Striped Twine: My Mind's Eye
Friday, August 12, 2011
Pumpkin Show 2010: Part 7
Only have three 4x6 photos for a layout? Just cut some patterned paper to 4x6 to use as a title-block, and recycle the tried and true four-photo layout. The best-kept secret in scrapbooking is that there's no shame in using the same design over and over and over, as long as it still makes you happy. As long as the photos keep changing, the pages will look different. And if you're working on a themed project, sometimes it makes more sense to keep certain aspects (design, color, pattern, etc.) consistent to keep it feeling unified.
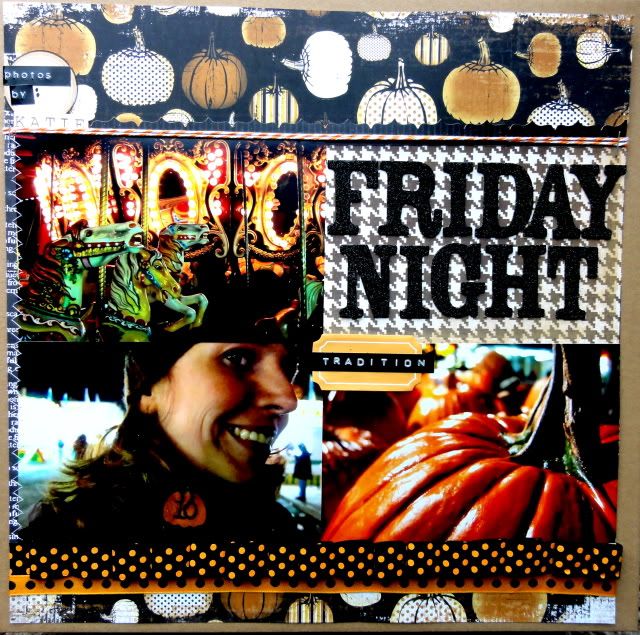
Figuring out where to put Katie's beautiful photos in this one was easy. It always feels more natural to place photos so that the subject is looking into the page rather than off of it, because it helps to lead the viewer's eye across the page. Balance-wise, the off-center pumpkin just seemed to beg to be put on the opposite side, and the white space in that photo became a great spot for extending the title.
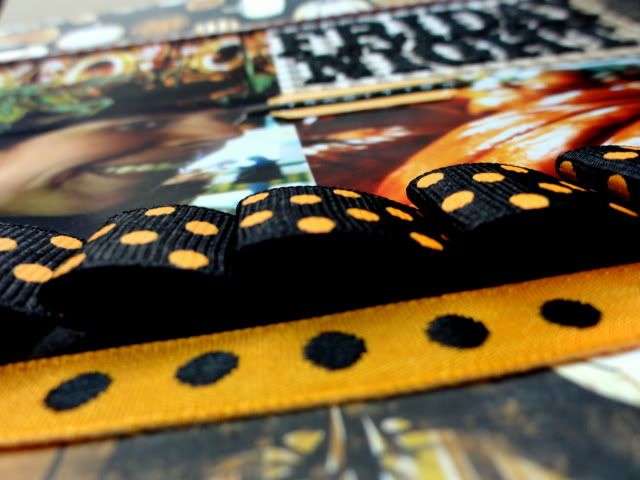
Since you can't really see it from the full page view, here's a shot of the pleated ribbon at the bottom of the page. I have a HUGE stash of ribbon that I'm always using to stretch across pages to create quick and easy borders, and this is a super simple way to take it up an extra notch. Just adhere the end of the ribbon to the page and pleat the ribbon across the page, securing each pleat with a glue dot as you go.
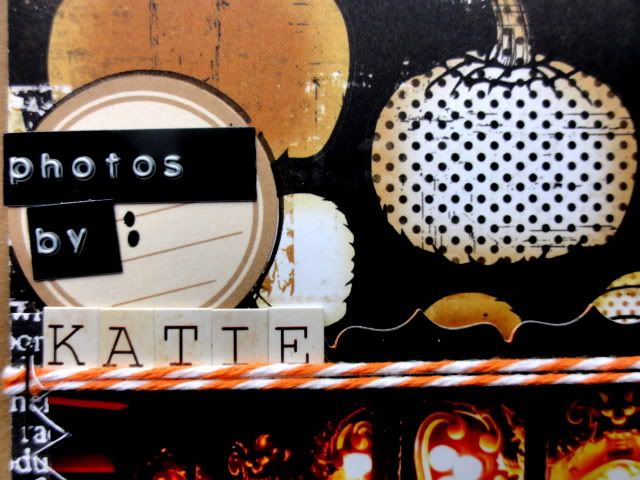
And since I'm so grateful to her for getting the only picture of the special "10-Year" pin I made for my friends Dayna and Justin for their 10th Pumpkin Show AND for letting me use her label maker again without asking, I wanted to give Katie a rightful photo credit in my album:
Supplies Used:
Patterned Paper: My Mind's Eye, DCWV
Ribbon:: American Crafts
Twine: My Mind's Eye
Border Sticker: Reminisce
Label Stickers: Hampton Arts, October Afternoon
Chipboard Letters: Colorbok
Letter Stickers: Authentique
Label Maker: Dymo

Figuring out where to put Katie's beautiful photos in this one was easy. It always feels more natural to place photos so that the subject is looking into the page rather than off of it, because it helps to lead the viewer's eye across the page. Balance-wise, the off-center pumpkin just seemed to beg to be put on the opposite side, and the white space in that photo became a great spot for extending the title.

Since you can't really see it from the full page view, here's a shot of the pleated ribbon at the bottom of the page. I have a HUGE stash of ribbon that I'm always using to stretch across pages to create quick and easy borders, and this is a super simple way to take it up an extra notch. Just adhere the end of the ribbon to the page and pleat the ribbon across the page, securing each pleat with a glue dot as you go.

And since I'm so grateful to her for getting the only picture of the special "10-Year" pin I made for my friends Dayna and Justin for their 10th Pumpkin Show AND for letting me use her label maker again without asking, I wanted to give Katie a rightful photo credit in my album:

Supplies Used:
Patterned Paper: My Mind's Eye, DCWV
Ribbon:: American Crafts
Twine: My Mind's Eye
Border Sticker: Reminisce
Label Stickers: Hampton Arts, October Afternoon
Chipboard Letters: Colorbok
Letter Stickers: Authentique
Label Maker: Dymo
Thursday, August 11, 2011
Pumpkin Show 2010: Part 6
I could have made a few more single-page layouts with the rest of these photos from Day 1 of Pumpkin Show 2010, but since they didn't easily separate into discernible categories or themes, I just threw them all together on a double-page spread summing up the rest of the day.
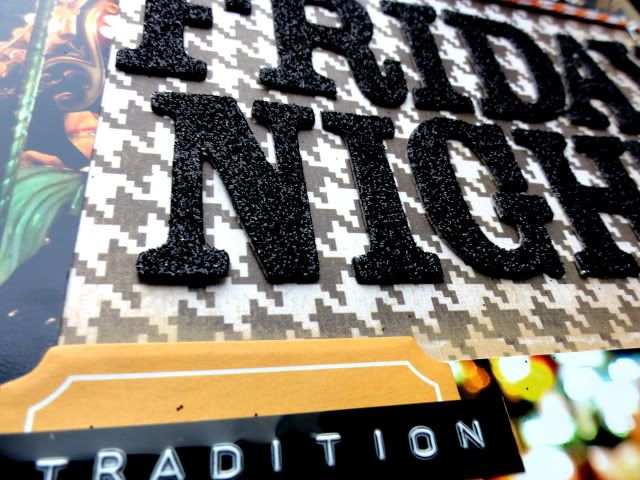
Even though I have a stash of bright orange and pumpkin-themed papers for this project, I also kept the Die Cuts with a View Natural Stack handy, since its shades of brown, tan, white, and black went so well with the fall theme. I love how the vertical stripes in this pattern slice through the thick band of photos. I've done stuff like this before by cutting up a bunch of different papers, but I love how DCWV thought to include a paper with stripes of all its patterns so I wouldn't have to go to any work.
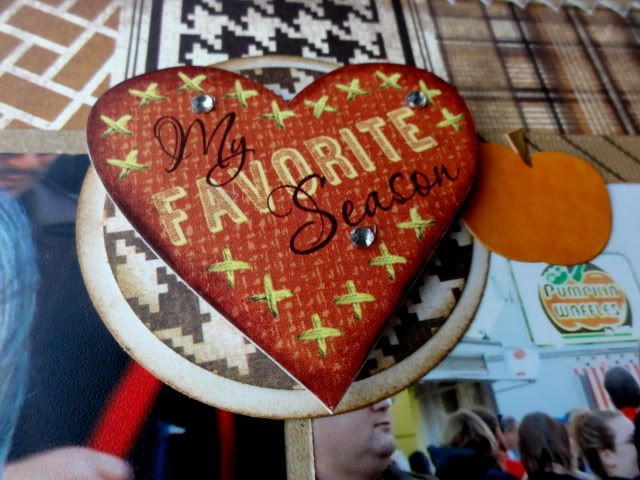
Once again, I let a sticker do all the title-work for me. To make it stand out, I elevated it a bit with some foam dots and stuck on a few gems.
I LOVE this giant scallop-edge border punch, and the cover of a recent Scrapbook Trends magazine inspired me to stick different papers behind each hole in the pattern.
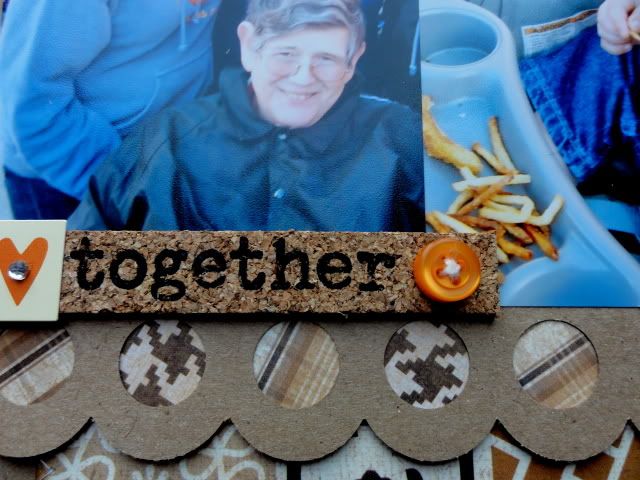
Also, I am amazed I finally found a use for these bargain-bin Karen Foster cork word stickers. I've had them for years and almost considered them a lost cause. I guess they just needed the right brown-colored layout and some stickers and buttons to jazz them up. Using old, cheap products and not hating them is such a rush.
Supplies Used:
Patterned Paper: DCWV
Border Punch: EK Success
Stickers: Karen Foster, Heidi Grace, Reminisce, Flair Designs
Ribbon: American Crafts
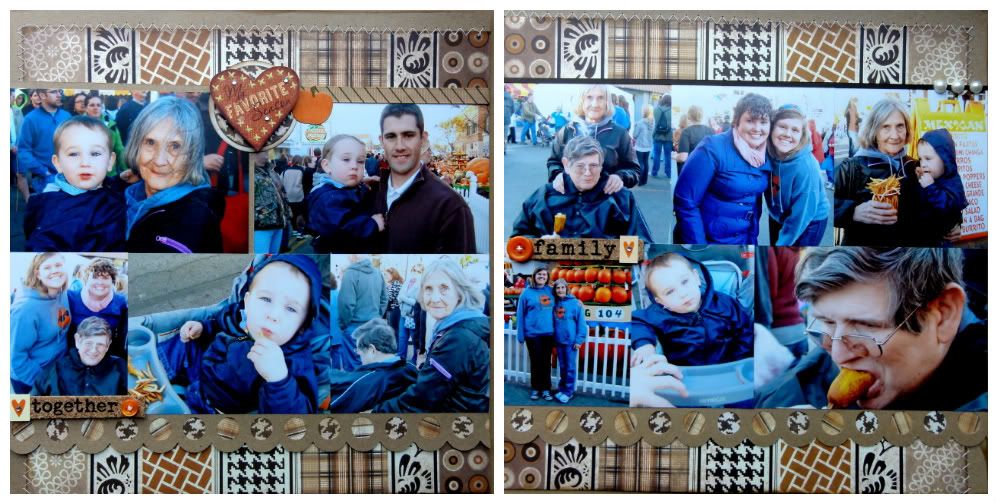 |
| Apparently, I have no clue how to photograph and crop these layouts, because they're supposed to line up. |
Even though I have a stash of bright orange and pumpkin-themed papers for this project, I also kept the Die Cuts with a View Natural Stack handy, since its shades of brown, tan, white, and black went so well with the fall theme. I love how the vertical stripes in this pattern slice through the thick band of photos. I've done stuff like this before by cutting up a bunch of different papers, but I love how DCWV thought to include a paper with stripes of all its patterns so I wouldn't have to go to any work.
Once again, I let a sticker do all the title-work for me. To make it stand out, I elevated it a bit with some foam dots and stuck on a few gems.

I LOVE this giant scallop-edge border punch, and the cover of a recent Scrapbook Trends magazine inspired me to stick different papers behind each hole in the pattern.

Also, I am amazed I finally found a use for these bargain-bin Karen Foster cork word stickers. I've had them for years and almost considered them a lost cause. I guess they just needed the right brown-colored layout and some stickers and buttons to jazz them up. Using old, cheap products and not hating them is such a rush.
Supplies Used:
Patterned Paper: DCWV
Border Punch: EK Success
Stickers: Karen Foster, Heidi Grace, Reminisce, Flair Designs
Ribbon: American Crafts
Wednesday, August 10, 2011
Pumpkin Show 2010: Part 5
 |
| Katie was BORN to photograph those deep-fried buckeyes, no? |
This "four photos at the bottom and title at the top" layout is another one of my favorite go-to scrapbook page formats for 4x6 prints. It's so easy when the photos do most of the work.
Rather than use another big title on this one, I tried making one of those fun "clustery" page toppers I've been seeing lately:

I envy scrapbookers who make a lot of their own original embellishments, because I really love the end result, but I'm usually way too impatient for this sort of thing and would rather just slap on a pre-made sticker. I had fun with this one, though. layering punched shapes, ribbon, and stickers over and inked-up tag and a chunk of an adhesive border. I might just try this again sometime.
Another "Get Out of Journaling Free" trick I use on my pages is to grab a Dymo embossing label maker to add simple captions to my photos. The fact that they're dimensional and shiny means that they can pull double-duty as both journaling and embellishments. I usually use my classic, all-caps labeler, but instead, for the first time EVER, I got into Katie's scrapbook stash (which collects dust in my closet until she comes to visit me), and I pulled out her nifty Dymo caption maker so I could use these cute lowercase letters, instead. Thanks, Katie!

Supplies Used:
Patterned Paper: American Crafts
Punches: EK Success & Fiskars
Embossing Folder: Provocraft
Stickers: Heidi Grace, Reminisce, Target
Ribbon: American Crafts
Decorative Tape: K&Co.
Label Maker: Dymo
Subscribe to:
Posts (Atom)


